Office365如何设置行号的方法-Office365设置行号方法
作者:快盘下载 人气:近日有一些小伙伴咨询Office365如何设置行号的方法?下面就为大家带来了Office365设置行号的攻略,有需要的小伙伴可以来了解了解哦。
方法/步骤
1.点击布局
在Office365软件功能栏目,点击布局。

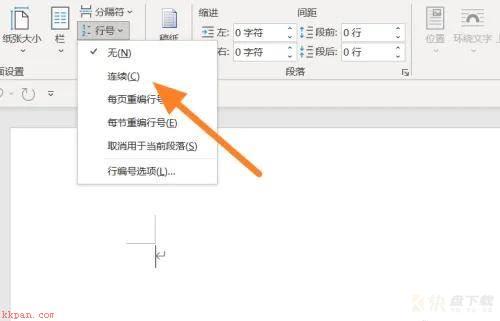
2.展开行号,选择连续
在布局栏目下,展开行号,选择栏目中的连续。
3.书写文档
在Office365文档编辑页面,编辑文档即可。

以上就是给大家分享的Office365设置行号的全部内容,感兴趣的小伙伴们速来围观吧!
加载全部内容