AutoCAD 2007怎么插入光栅图像参照-插入光栅图像参照教程
作者:快盘下载 人气:想必有很多朋友都很好奇AutoCAD 2007怎么插入光栅图像参照?那么感兴趣的朋友就赶快来看看小编带来的AutoCAD 2007插入光栅图像参照教程吧,希望通过本篇教程的学习,可以帮助到大家哦。
第一步,打开AutoCAD 2007,如图。

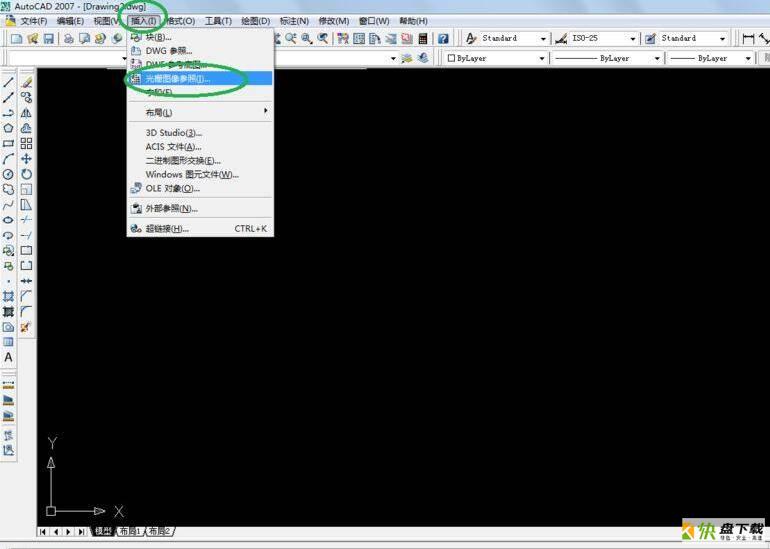
第二步,在工具栏上,选择【插入】-【光栅图像参照】,如图。
第三步,在弹出信息中,选择要插入的图像,点击打开,如图。

第四步,在弹出的信息中,在插入点栏目下,勾选【在屏幕上指定】,然后点击确定,如图。

第五步,指定基点和比例因子,然后回车,如图。

第六步,就可以查看效果了,如图。

以上就是小编带来的AutoCAD 2007插入光栅图像参照教程,大家不要错过哦。
加载全部内容