Microsoft Visio如何绘制程序结构图-绘制程序结构图的方法
作者:快盘下载 人气:小伙伴们知道Microsoft Visio如何绘制程序结构图吗?今天小编就来讲解Microsoft Visio绘制程序结构图的方法,感兴趣的快跟小编一起来看看吧,希望能够帮助到大家。
第一步:打开Microsoft Visio软件,如下图:

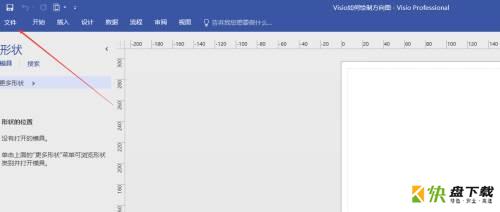
第二步:点击“文件”如下图:
第三步:点击“新建”如下图:

第四步:选择“类别”中的“软件和数据库”如下图:

第五步:选择“程序结构”并点击“创建”如下图:


第六步:接下来我们就可以利用左边栏中的“形状图”以及工具栏中的工具进行绘制程序结构图了。如下图:

以上就是小编给大家带来的Microsoft Visio如何绘制程序结构图的全部内容,希望能够帮助到大家哦。
加载全部内容