office365文档怎么设置下标-office365文档设置下标的方法
作者:快盘下载 人气:近日有一些小伙伴咨询小编office365文档怎么设置下标?下面就为大家带来了office365文档设置下标的方法,有需要的小伙伴可以来了解了解哦。
第一步:在office365编辑页面,将光标移至文本内容后方。

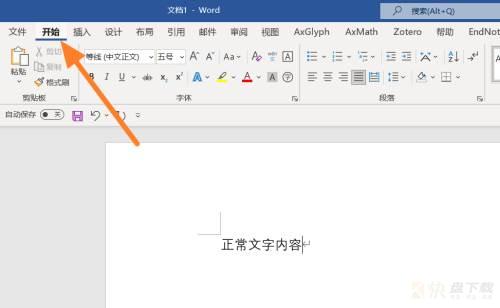
第二步:在office365功能栏目下,点击开始。
第三步:找到开始功能栏目下的下标图标,单击一次。

第四步:回到office365文档编辑页面,输入下标内容就好。

以上就是小编给大家带来的office365文档怎么设置下标的全部内容,希望能够帮助到大家哦。
加载全部内容