win7怎么设置宽带拨号连接 win7宽带拨号连接设置方法
作者:快盘下载 人气:家用电脑大部分都是用一台电脑上网。现在的宽带都是自动拨号不管你是那家运营商,但有一小部分的人还是要用拨号连接的,下面就分享一下win7宽带拨号连接设置方法,一起看看吧。
win7系统设置方法

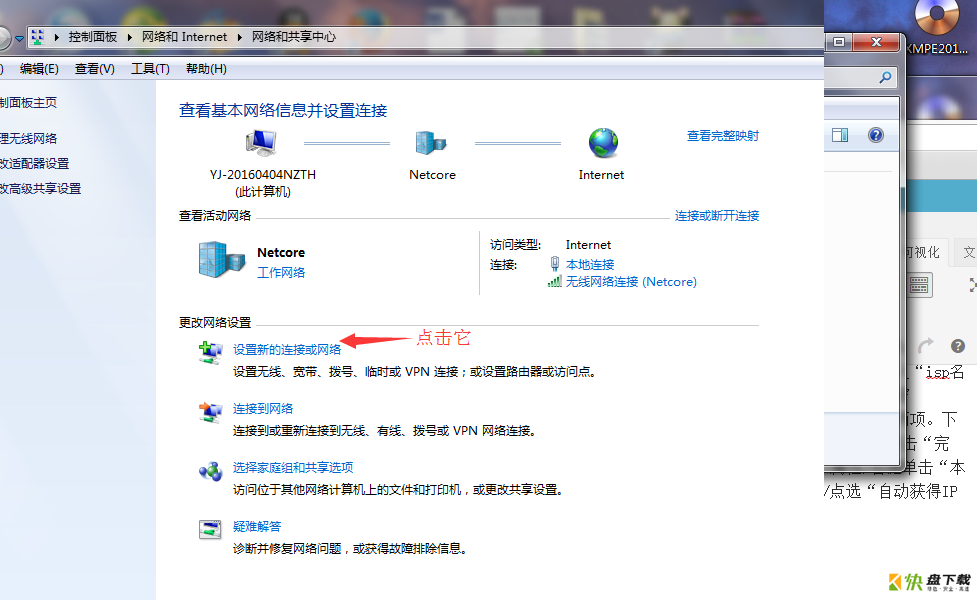
进入网络和共享中心之后,在中部,找到"设置新的连接和网络",点击。
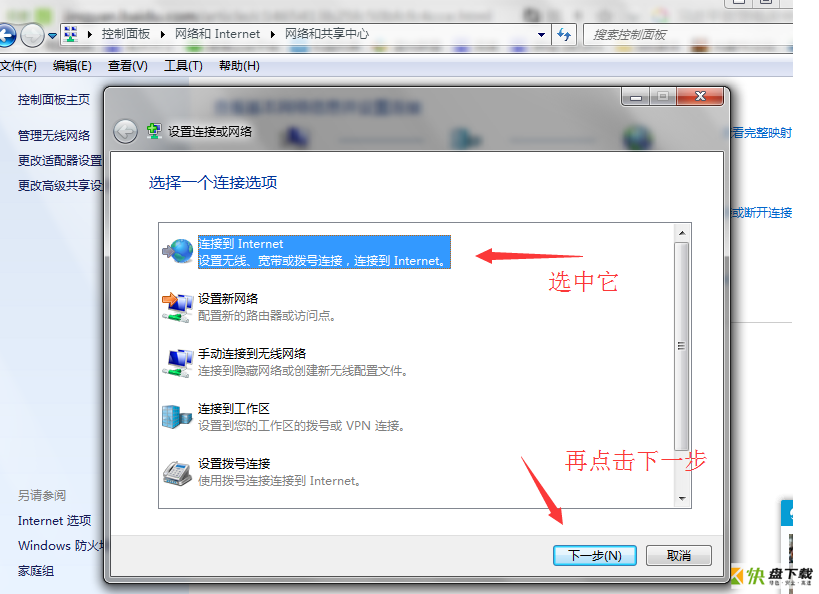
进入设置连接或网络窗口,选择第一项"连接到Internet"
选中宽带(pppoe)

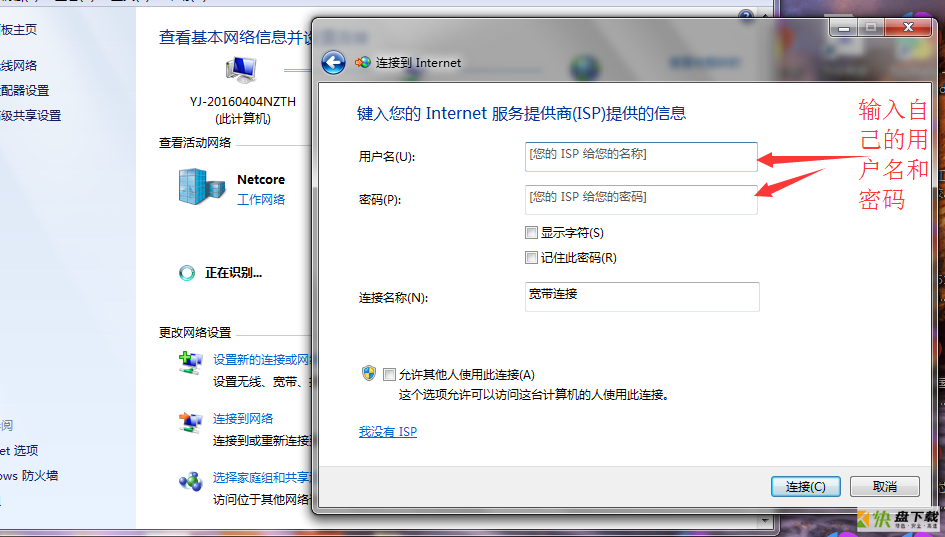
输入运营商提供给你的用户名和密码,勾选记住密码,设置宽带名称,点击连接。(连接名称可以随意修改)
接下来进入连接界面,等待该步骤完成之后,提示成功,那么宽带连接就创建成功了
以上教程是小编给大家带来的win7宽带拨号连接设置方法,大家有需要可以参考下,希望对大家有所帮助,如果大家有任何疑问欢迎给我留言,小编会及时回复大家的。在此也非常感谢大家对快盘下载网站的支持!
加载全部内容