Microsoft Excel 2016如何制作米字格-制作米字格教程
作者:快盘下载 人气:近日有一些小伙伴咨询小编Microsoft Excel 2016如何制作米字格?下面就为大家带来了Microsoft Excel 2016制作米字格的方法,有需要的小伙伴可以来了解了解哦。
第一步:打开excel 2016,新建一个空白的表格。

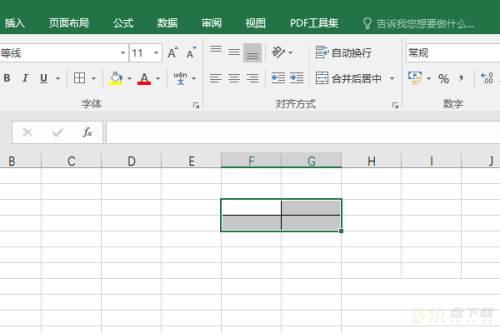
第二步:在表格中随意框选一个2x2的单元格,点击工具栏中的【边框——所有框线】,完成田字格的绘制。
第三步:选中两列,单击右键,点击“列宽”,设置列宽为20,点击确定。

第四步:选中两行,单击右键,点击“行高”,设置行高80,点击确定。

第五步:按住ctrl键,选中对角的两单元格,单击右键,点击“设置单元格格式”。

第六步:点击标题栏中的【边框】,然后点击左下角的斜线。

第七步:重复第5、6的操作,只不过这次选择另外两个单元格,点击的也是右下角的斜线。

第八步:最后这个米字格就制作好了。

以上就是小编给大家带来的Microsoft Excel 2016如何制作米字格的全部内容,希望能够帮助到大家哦。
加载全部内容