Adobe Photoshop Lightroom怎么制作HDR效果-制作HDR效果的方法
作者:快盘下载 人气:很多人不知道Adobe photoshop Lightroom怎么制作HDR效果?今日为你们带来的文章是Adobe Photoshop Lightroom制作HDR效果的方法,还有不清楚小伙伴和小编一起去学习一下吧。
第一步:首先我们打开lightroom(如图所示)。

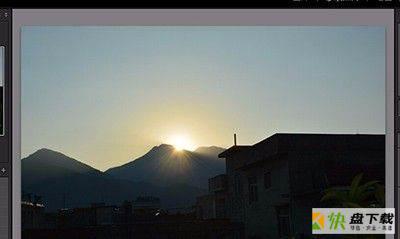
第二步:接着我们插入一张暗部细节很少的图片(如图所示)。
第三步:然后我们点击【修改图片】,切换到图片参数调整界面(如图所示)。

第四步:我们把鼠标移动到【高光】这个参数里,拉低一下【高光】,注意高光是指照片中亮度高的那部分细节(如图所示)。

第五步:接着我们移动到下面的【阴影】这个参数里,把参数调到最高,阴影是指照片比较暗的那部分细节,得到效果如图,已经初具HDR效果了(如图所示)。


第六步:接着我们把【白色色阶】调低,【黑色色阶】调高(如图所示)。


第七步:我们再把鼠标移动到曲线这个面板,在暗部细节那部分把曲线往下拉即可(如图所示)。


以上就是小编给大家带来的Adobe photoshop lightroom怎么制作HDR效果的全部内容,希望能够帮助到大家哦。
加载全部内容